This post may contain affiliate links, or we may earn money from the companies mentioned in this post. For more information on this, please visit our legal page.
This is a step-by-step guide to making a wine bottle gift pouch but can easily be adapted to make smaller gift pouches for jewelry and other smaller items.
It is a beginner/easy hand sewing project (you can use a sewing machine if you want too) so if you need beginner tips and advice on hand sewing you should read my aptly named post “Hand sewing tips”
This is a great personal touch to any bottled or other gift that can easily be personalised to make it that little bit more special! You can variate with different materials and funky patterns – this is a plain version to make the tutorial easier – (I made a turtleneck for a bottle so I’m happy :p)
What you’ll need:
Part 1 – Measuring
Measure the height of the bottle (then double it and add 5cm) – In this case 27*2 + 5 ( I rounded up to 60cm)
Measure the width of the bottle (then add 3cm for the hemming) – In This case it was 12cm
Lay out the desired material – I chose an old jumper as it is easy to manipulate when hemming but you can use anything (and this particular one wasn’t a gift)
Measure, draw out measurements
My Measurements
Cut it out
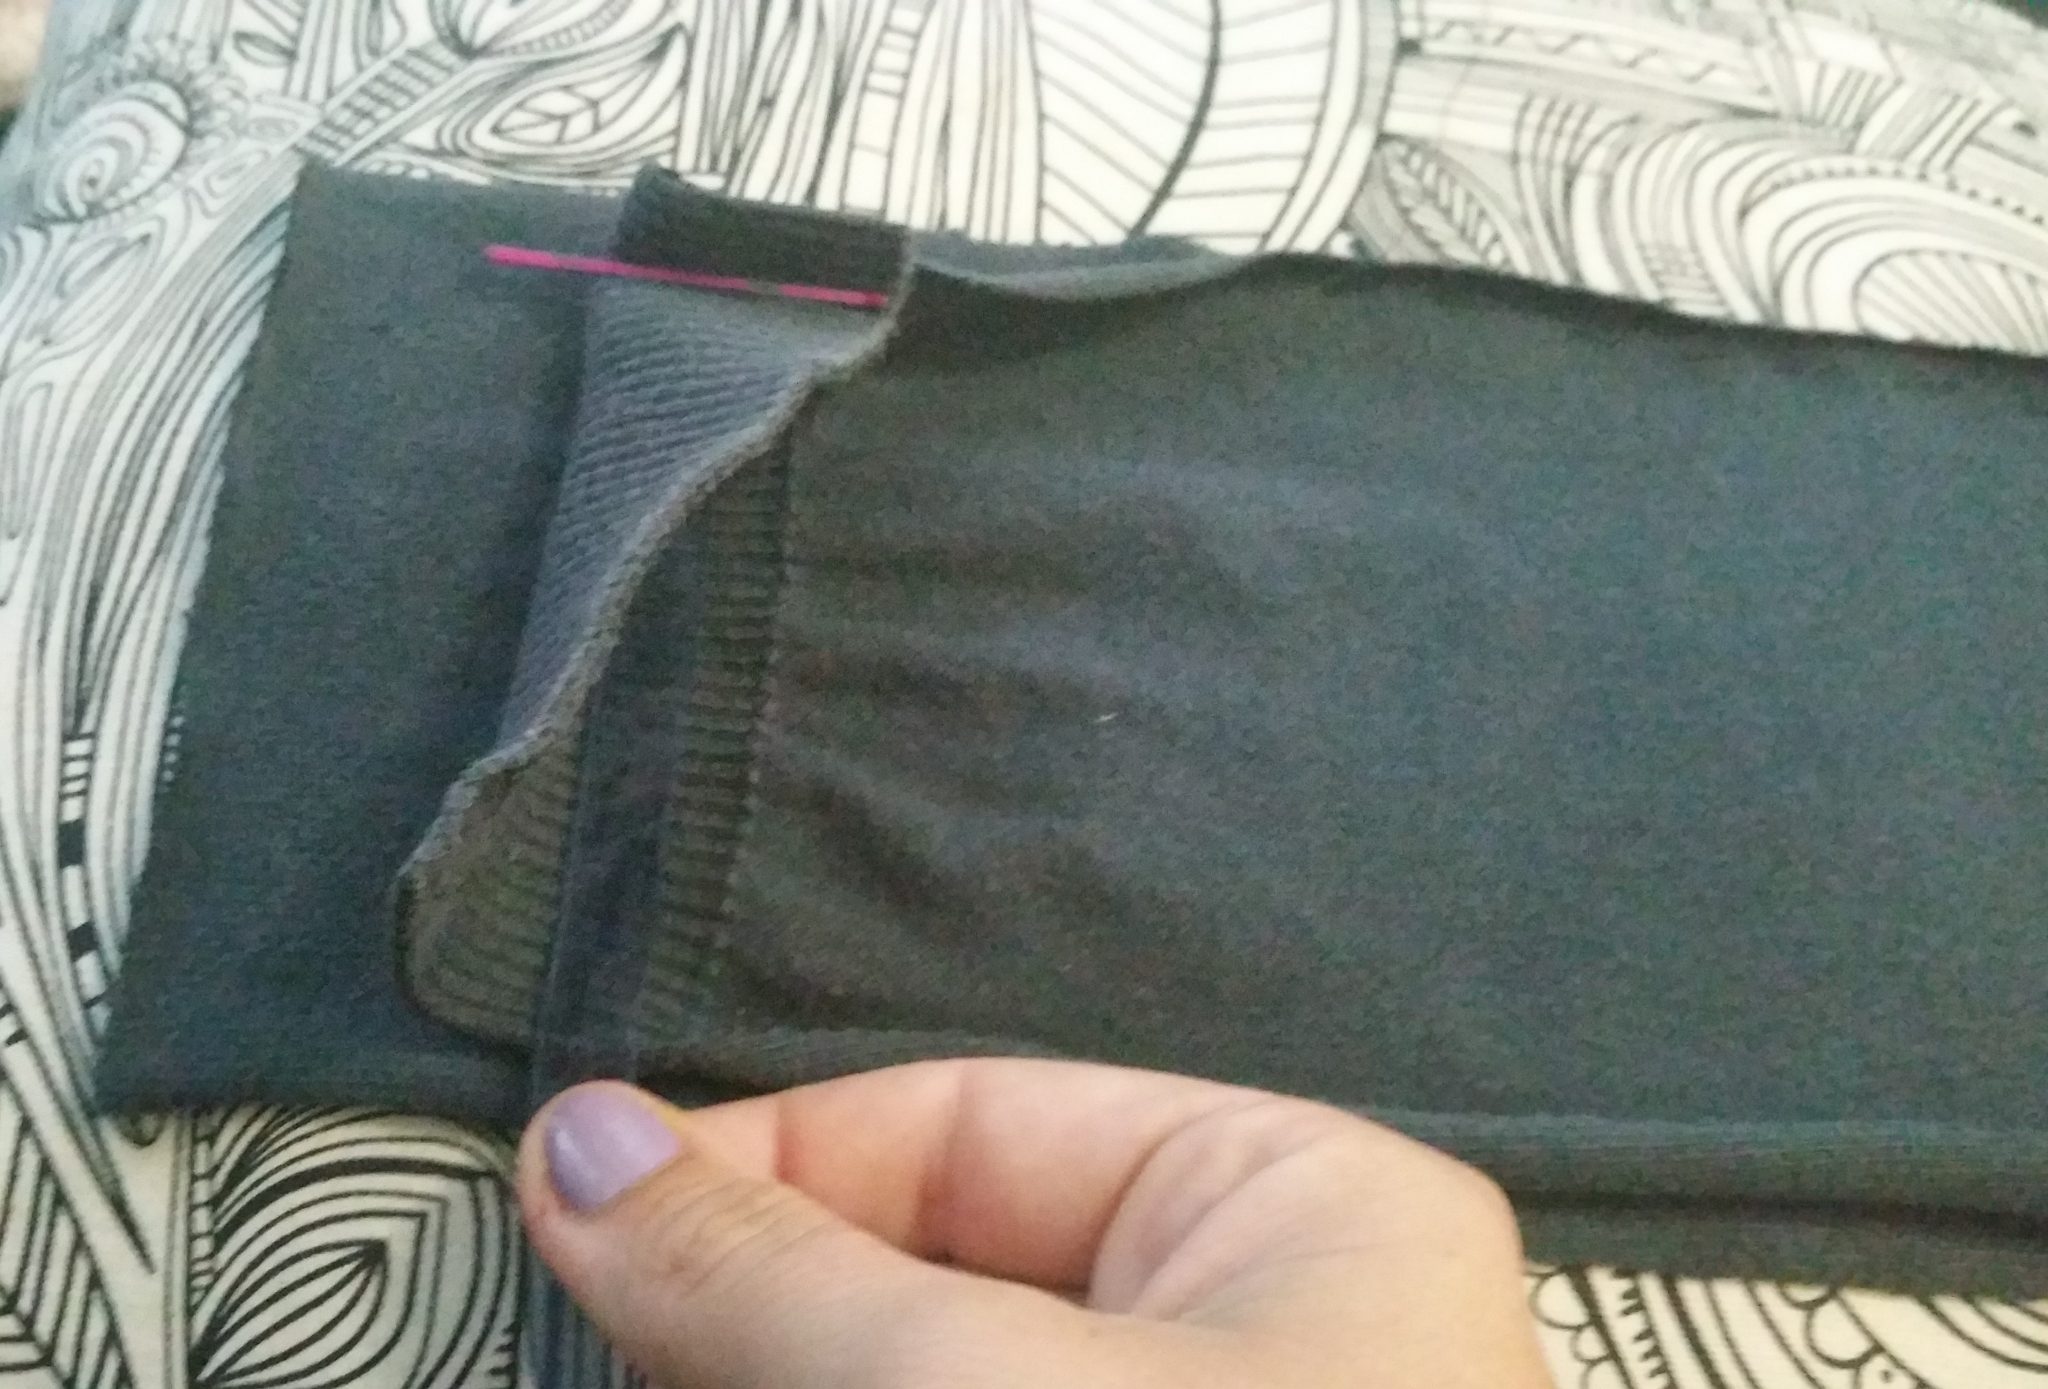
Fold it in half and pin together (inside out – i.e with any patterns on the inside) – I find bobby pins to be the most useful without ruining the material
Measure out your drawstring – I used ribbon in this case ( you don’t need an exact length – just the width.
From the top of the opening fold the material over your drawstring and mark how far down it comes (this will be where you sew up too)
Part 2 – The sewing begins…
Using a running or backstitch (whichever you are most comfortable with – I used a running stitch) stitch together the two pieces of folded fabric (up to the line you have drawn).
Do this on both sides
You may find you have extra material where things are a bit wonky ( I always do) now you can cut it off
*Note: The next step is optional because it depends on the material – mine tends to fray easily*
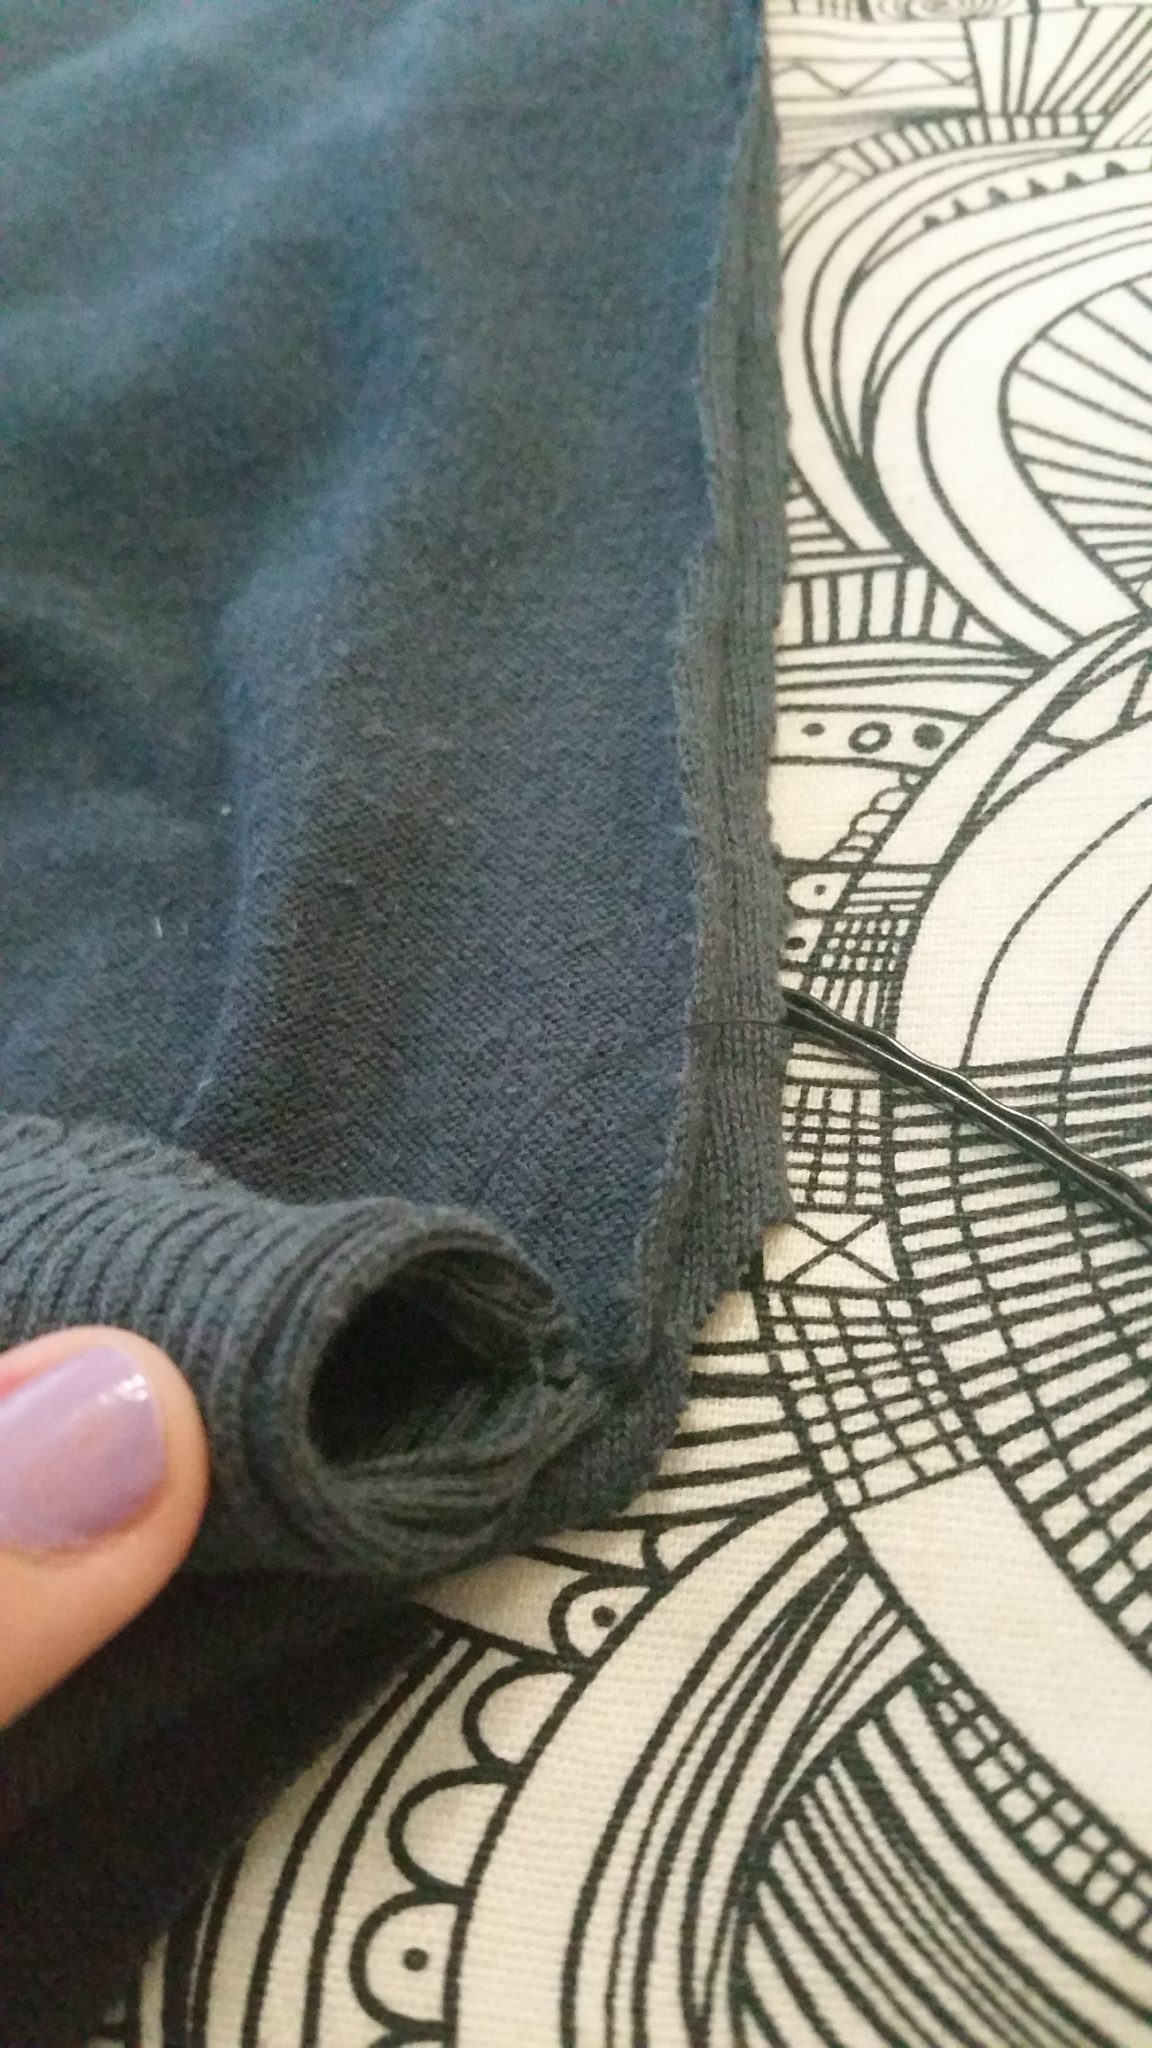
*Optional* Hem the folds (make sure you don’t go through both pieces of fabric as you are just hemming one side at a time. Also be wary as this hem will show on the other side
*Optional* Do this on both sides
Fold over the top piece of material to create a tunnel for the drawerstring and sow along the joint
Do this to both
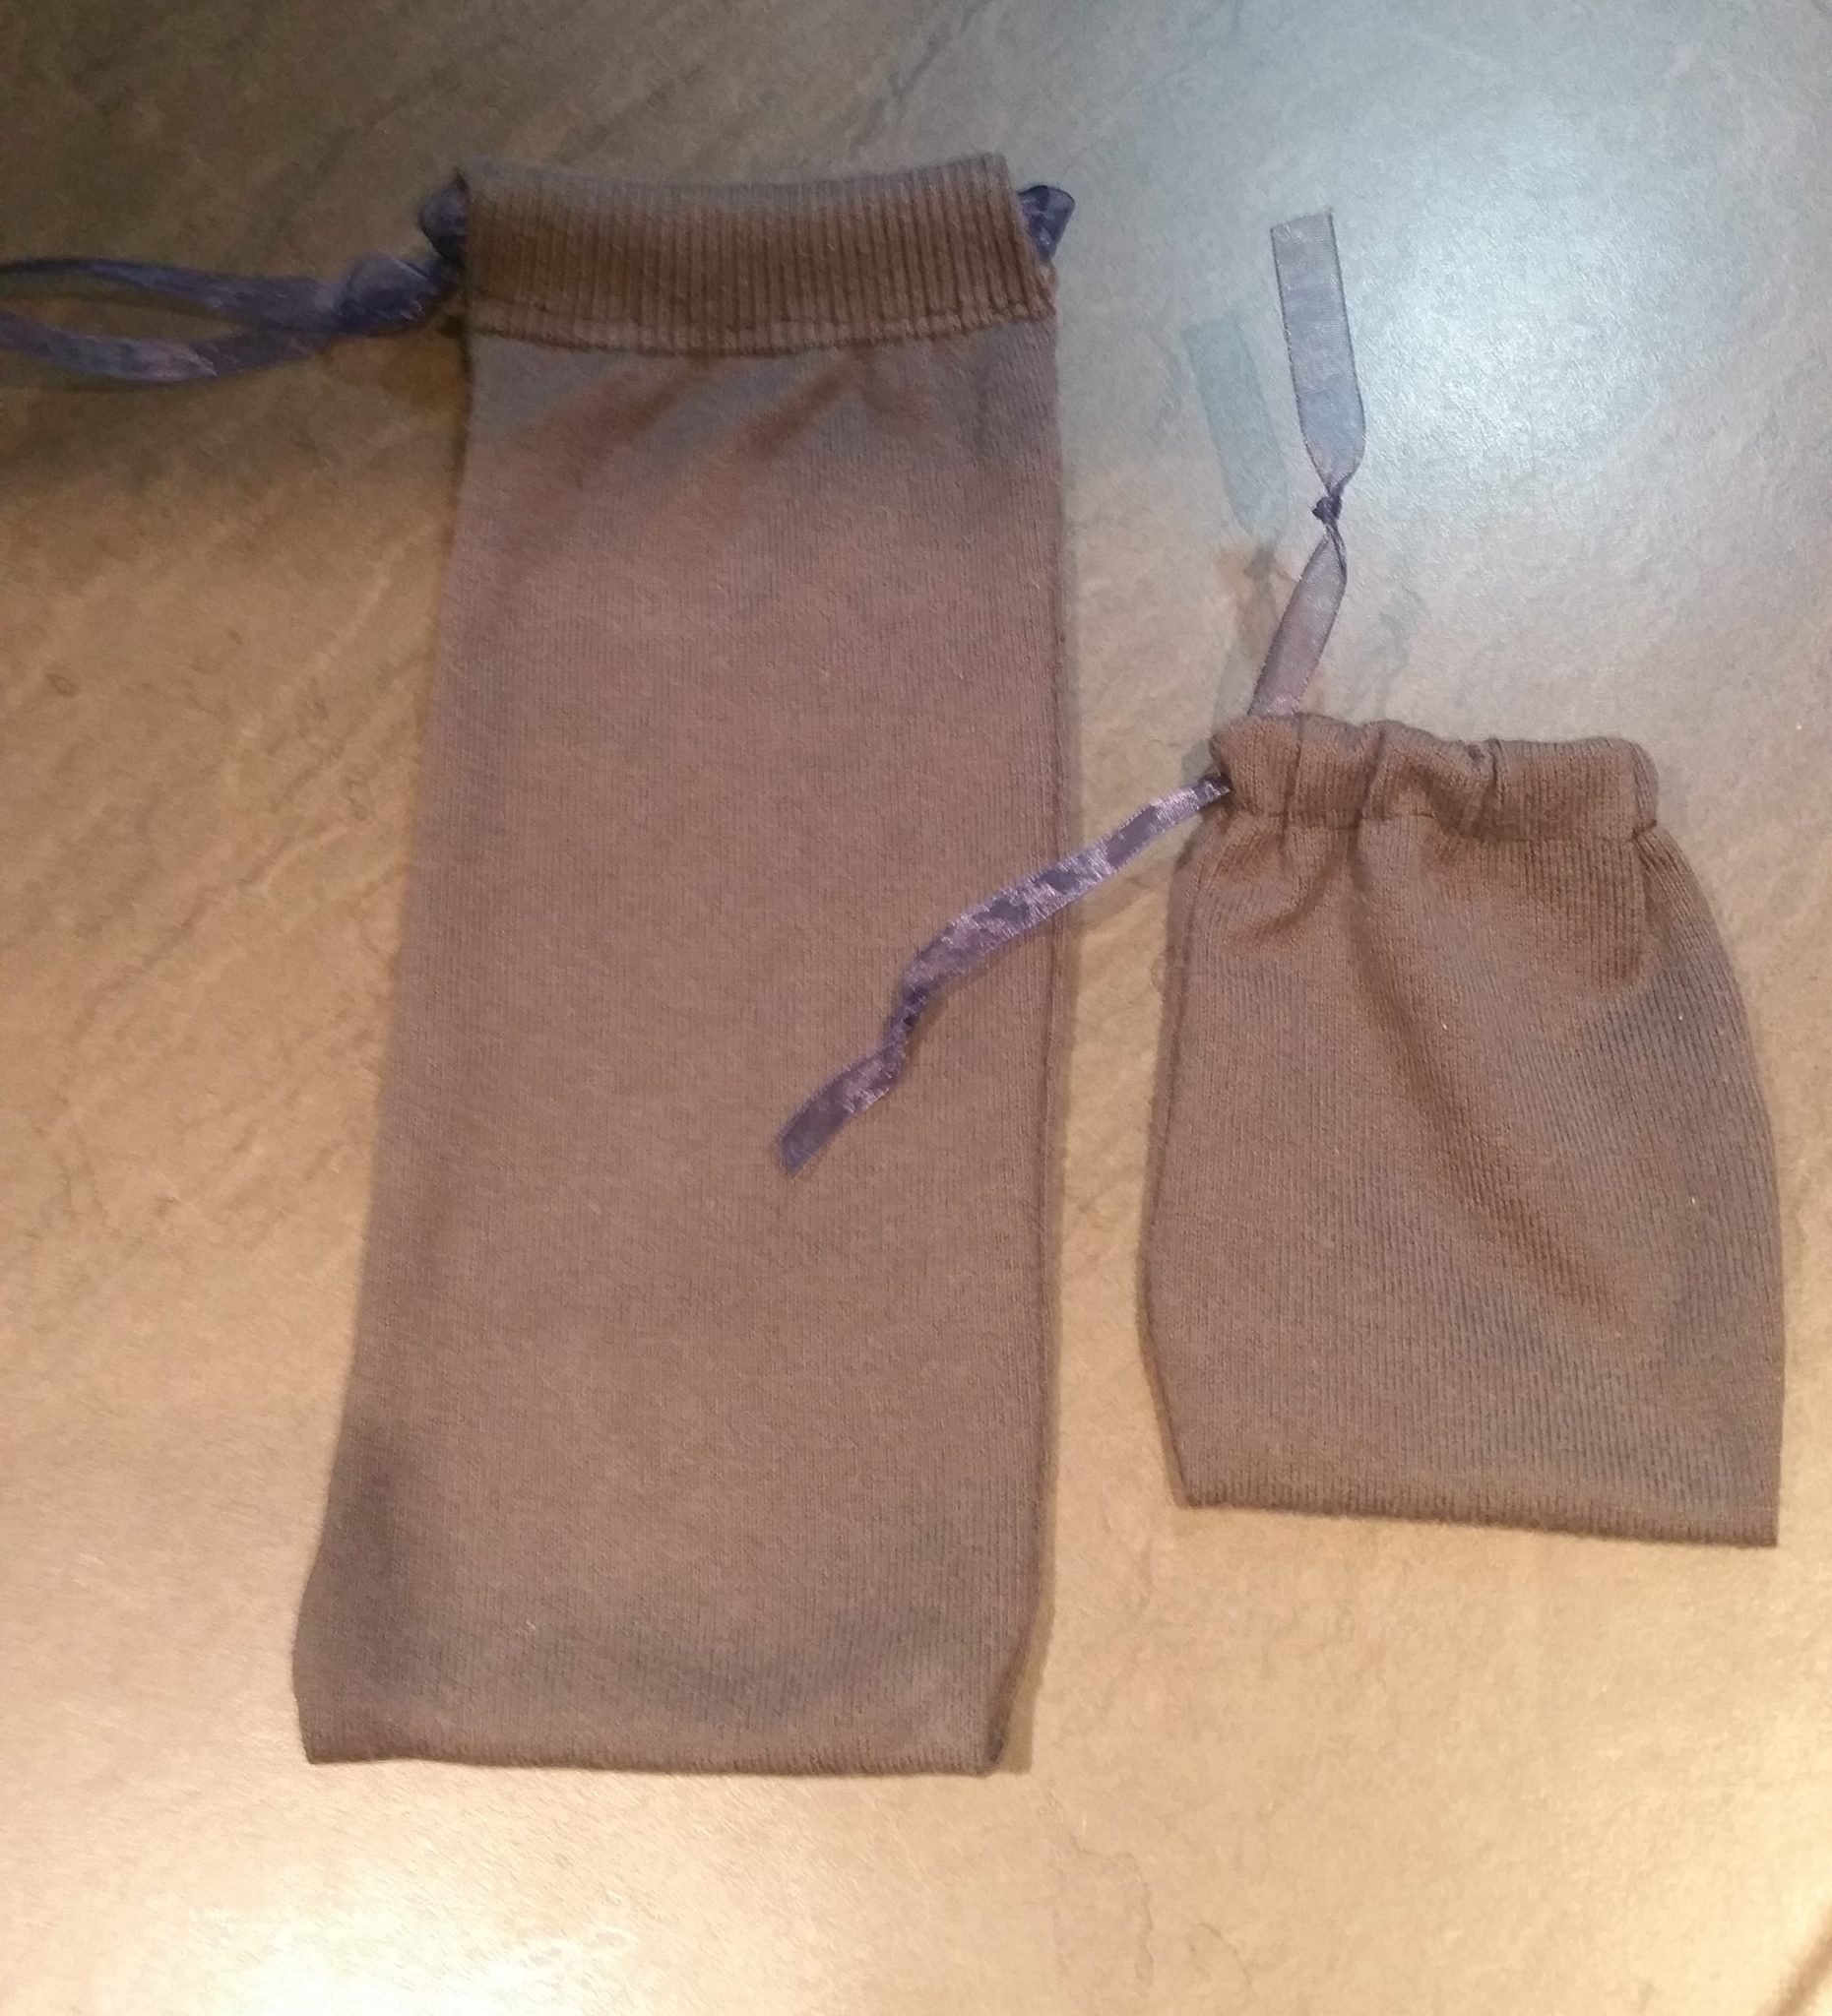
Turn the right way out and pop in the bottle, pull your drawerstring and tie..
You can variate with different materials and funky patterns – this is a plain version to make the tutorial easier – plus I made a turtleneck for a bottle so I’m happy :p
You can adjust the measurements for this and make little gift pouches too
For more sewing projects follow our “Sewing Projects” Pinterest Board
If you found this helpful the share or pin it 🙂
Everyone wants to save for the rainy days. We all go to great lengths to…
Aside from being fit enough to keep up with your player you need to learn…
Our bodies become susceptible to common infections as temperatures drop. It is not unheard of…
It's that time of year again when you struggle to buy for your family and…
I was really surprised by how much lego costs these days! And with two kids…
Teaching about the life cycle of plants and trees? Whether you're homeschooling (by choice or…
This website uses cookies.