This post may contain affiliate links, or we may earn money from the companies mentioned in this post. For more information on this, please visit our legal page.
Even though I have some sewing experience (years of hubby’s socks, cycling jerseys, trousers and shirts can attest to that) I still consider myself a beginner in the art of the sewing.
I don’t own a sewing machine and I swear my eyes are a bit wonky when it comes to straight lines so I try to use little techniques to help make things look more presentable (The problem I have is that whatever I make is practical but chances are it does NOT look pretty).
Types of stitch – the basics
I predominantly use two types of stitch currently (these are the ones I feel most confident with, I will upload others when I feel happier with the end results). These are;
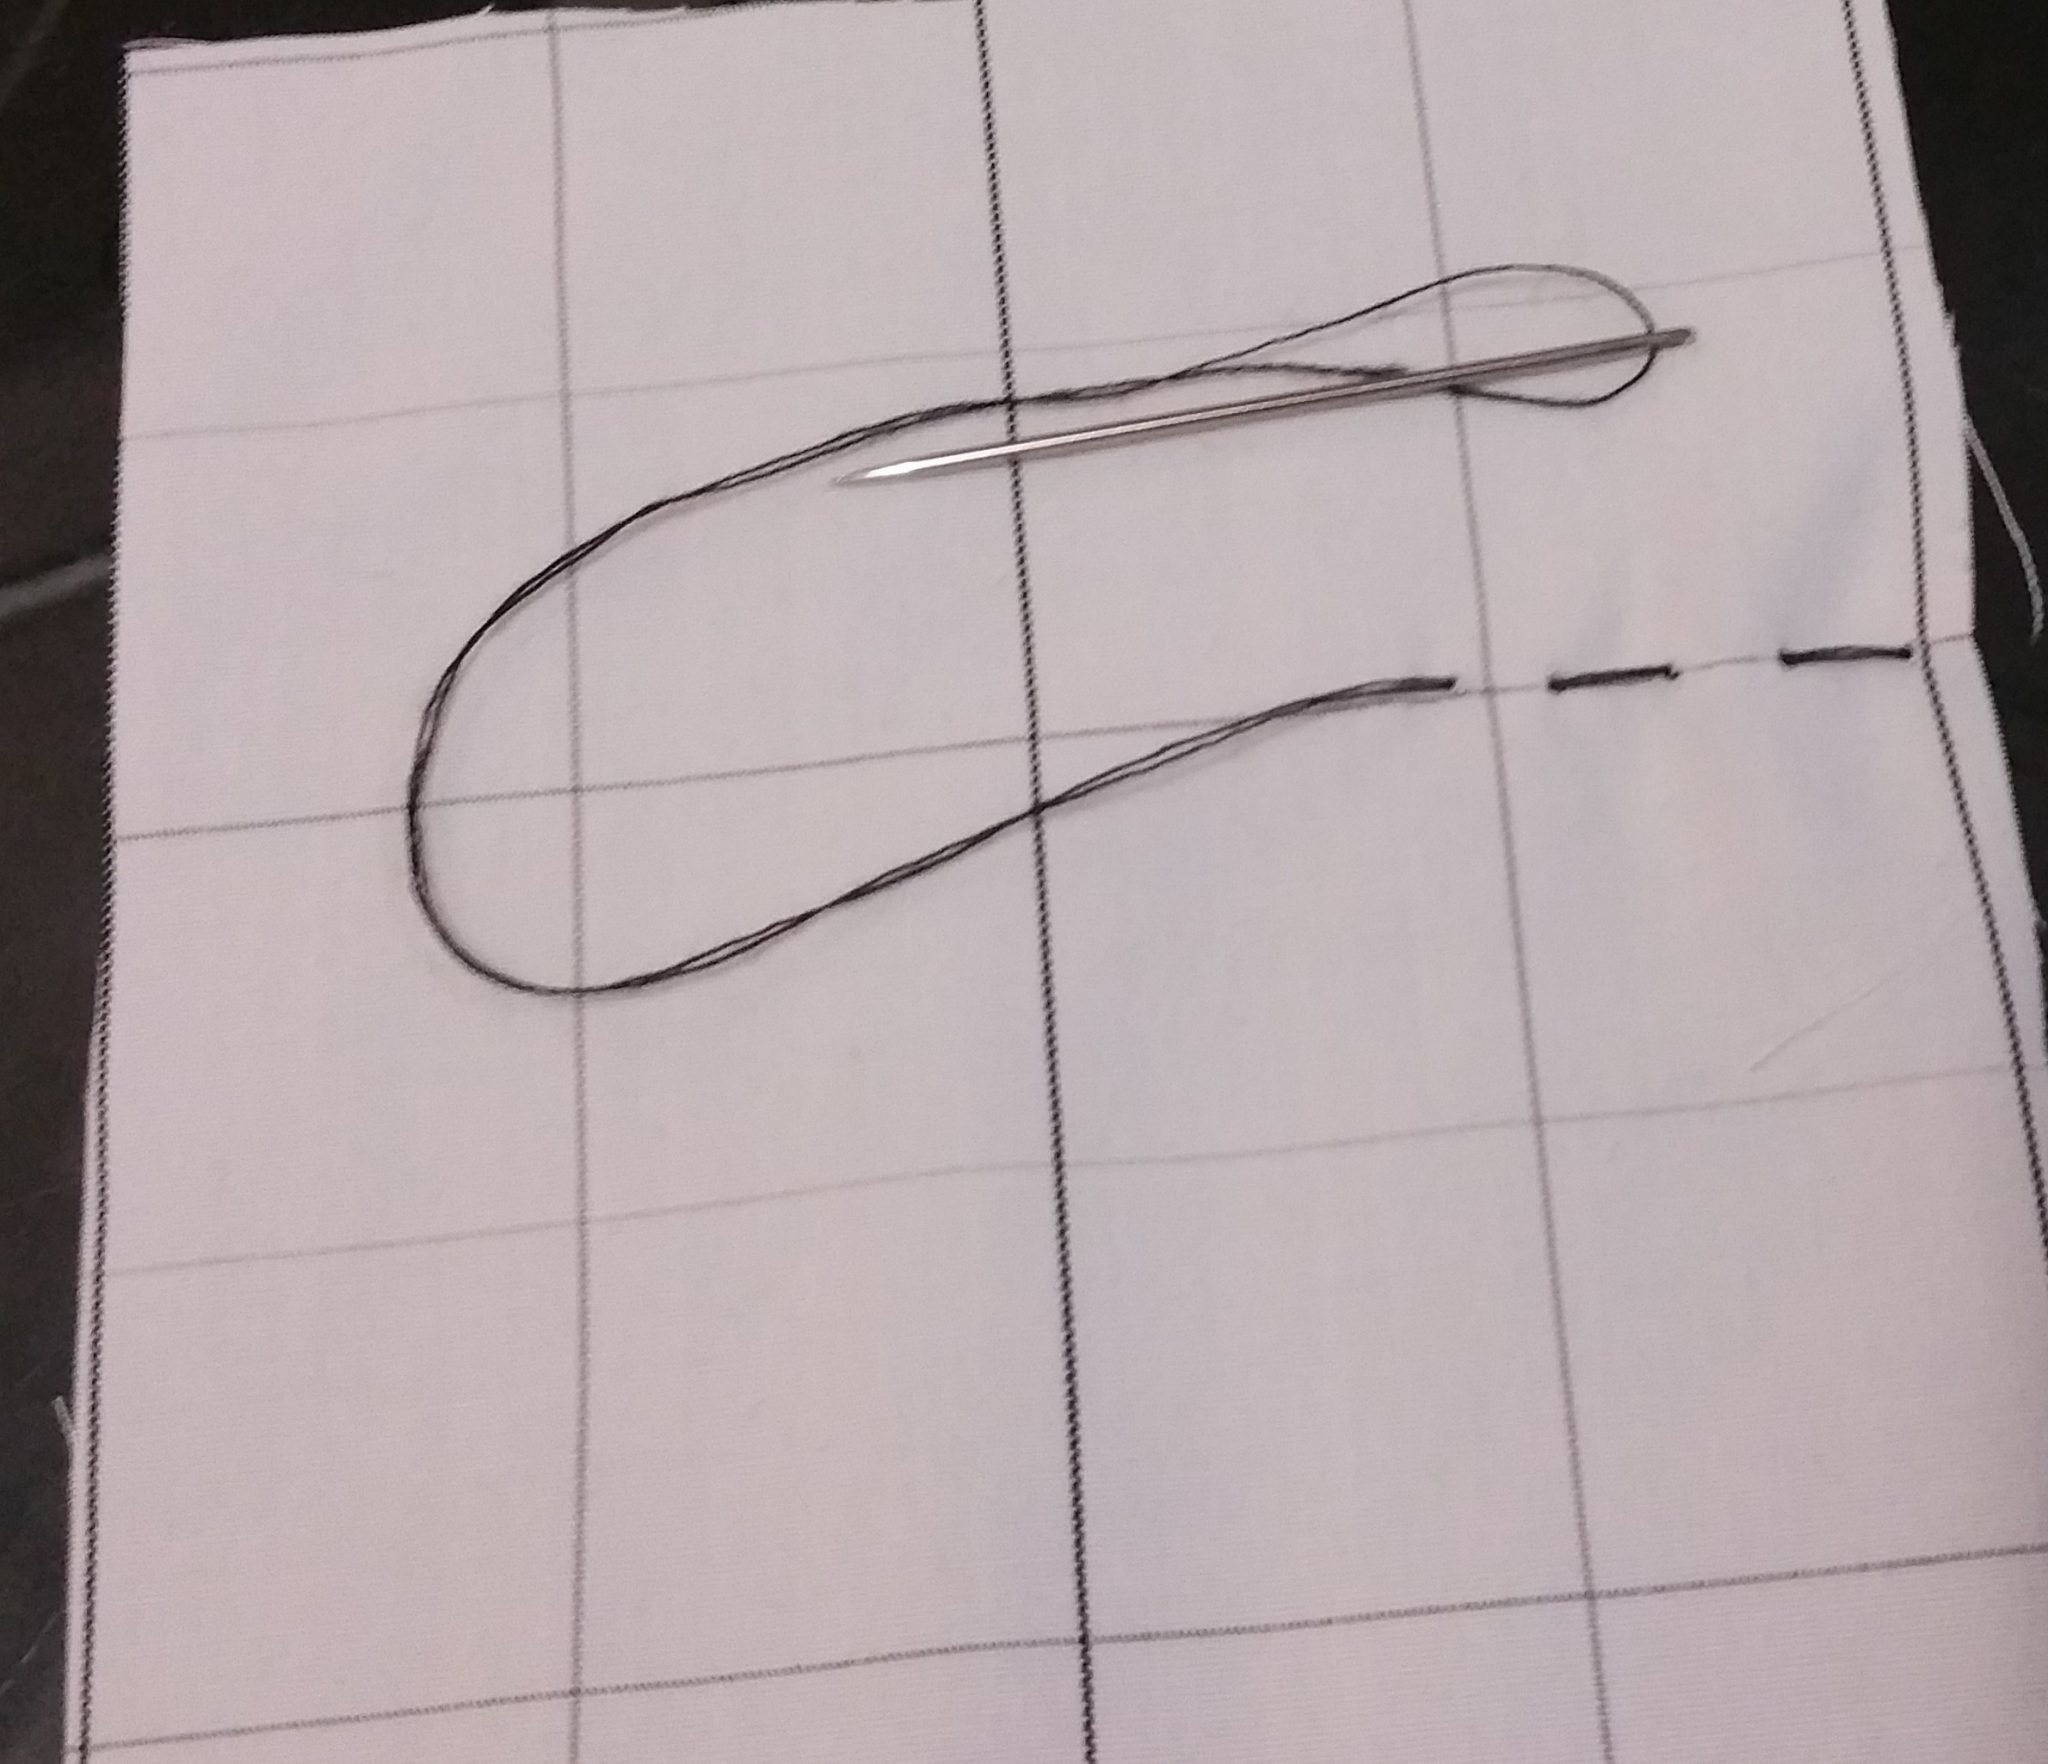
A Running Stitch – This is the neater of the two stitches as it looks the same from both sides – it requires a bit of concentration to make sure you’re joining up the right places
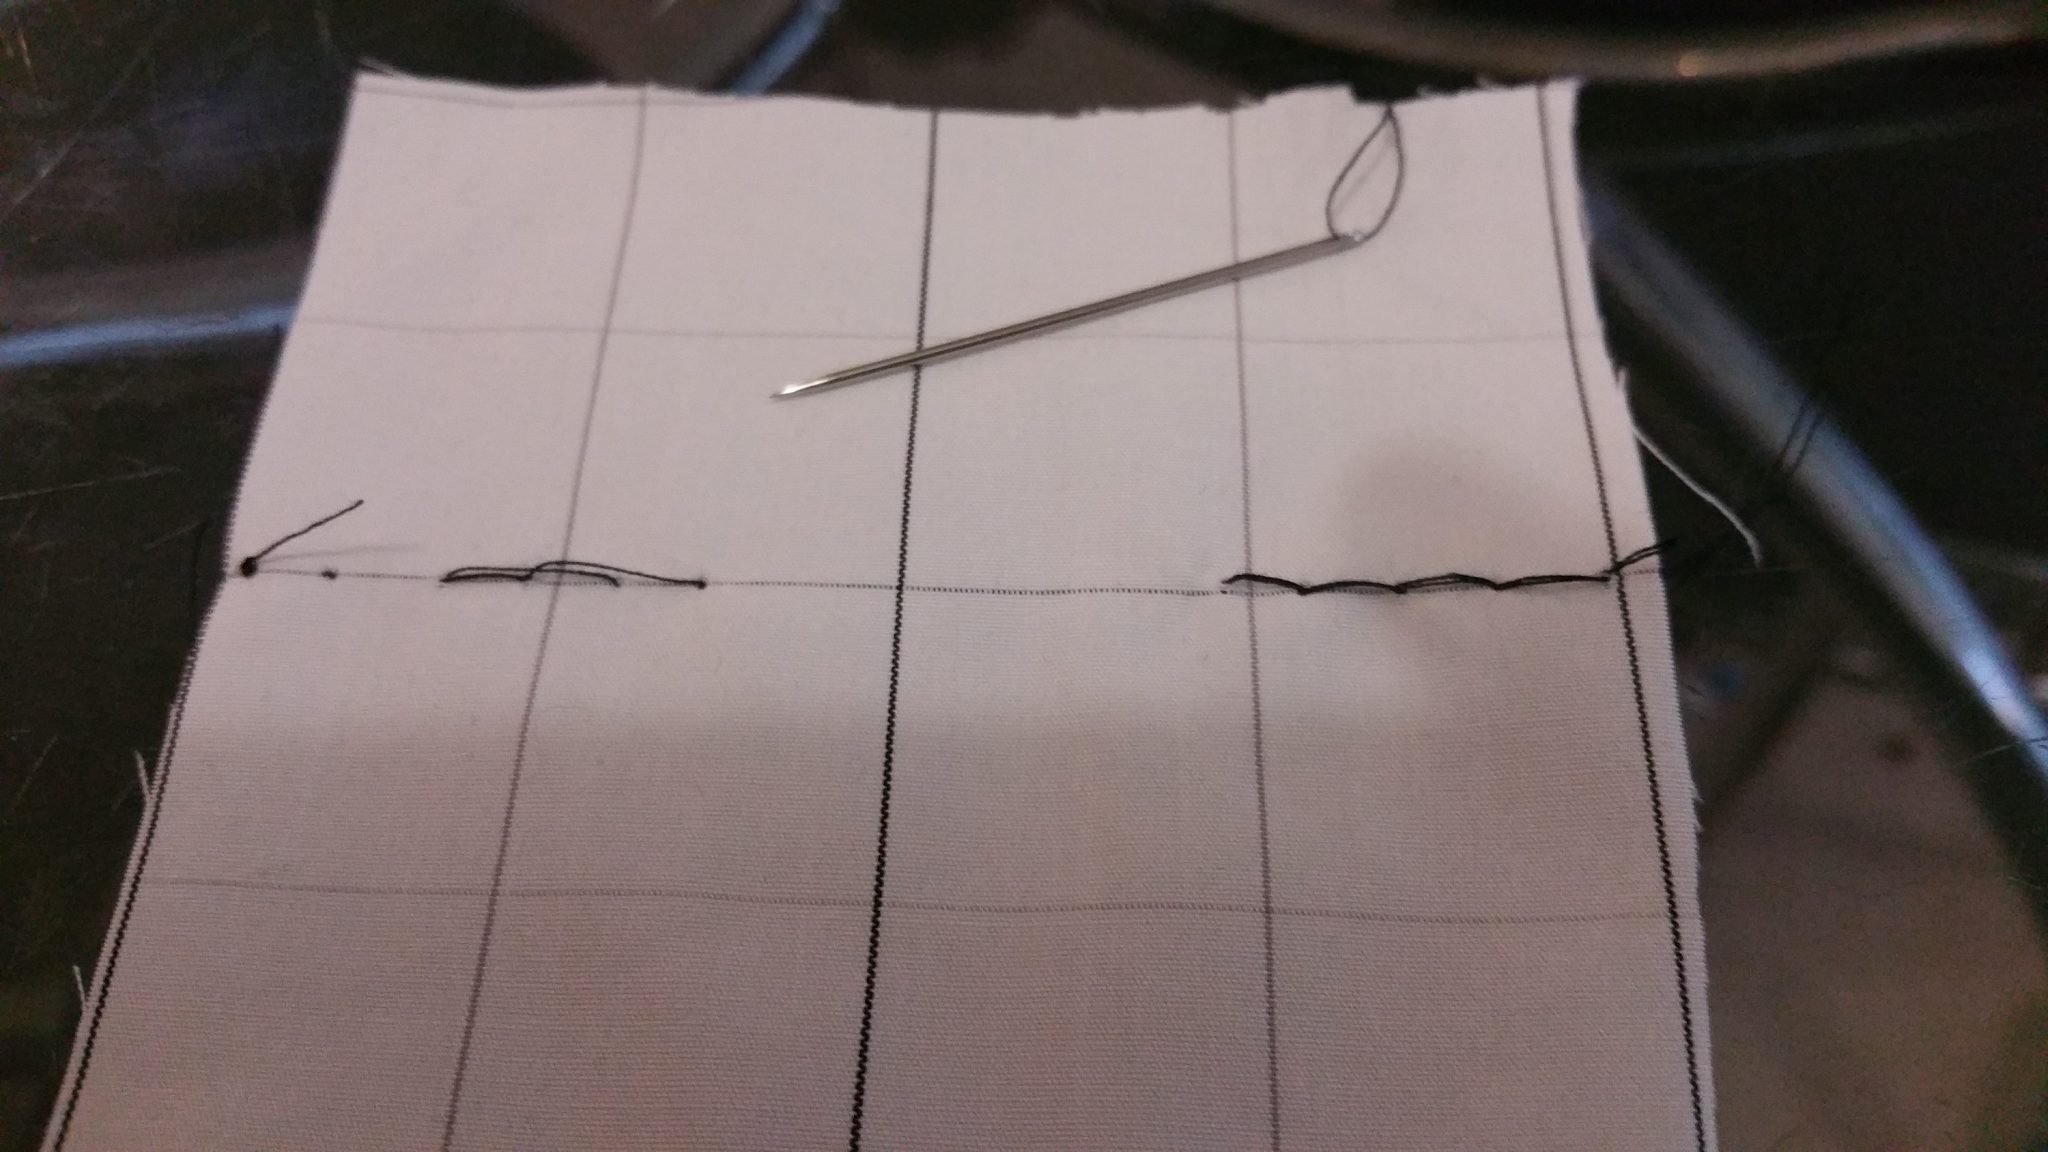
A Backstitch – This is the sturdier stitch that if I want to make sure something stays the same this is what I am going for!
the downside is it looks a little messier at the back, here is a comparison;
Tips for beginners
My First experiment that now holds my other swatches
*Note: Hand sewing requires concentration and patience because it takes a hell of a lot longer to hand sew than with a machine BUT it is very rewarding when you’ve made a creation and know you did it all by hand (Aren’t you clever). *
I think you’re ready to take a look at some of my sewing tutorials to make gifts or just have some fun personalising/jazzing up your old stuff 🙂
Why not try the “Wine Bottle Gift Pouch” project next.
For more projects follow our “Sewing Projects” Pinterest Board
Do you have any beginner sewing tips or questions? leave them in the comments. If you found this helpful then pin or share it 🙂
Everyone wants to save for the rainy days. We all go to great lengths to…
Aside from being fit enough to keep up with your player you need to learn…
Our bodies become susceptible to common infections as temperatures drop. It is not unheard of…
It's that time of year again when you struggle to buy for your family and…
I was really surprised by how much lego costs these days! And with two kids…
Teaching about the life cycle of plants and trees? Whether you're homeschooling (by choice or…
This website uses cookies.