This post may contain affiliate links, or we may earn money from the companies mentioned in this post. For more information on this, please visit our legal page.
There is nothing I love more than reusing everyday items around the house and since we are a sporty bunch there are always bottles to spare.
I am always looking for fun and frugal games and activities to play with my little guy that don’t break the bank, especially because he is changing so quickly that he grows out of things and it’s just a waste of money! One of my favorite parts about baby bowling is that you can actually make it easier or harder depending on the age of the child, therefore making it last even longer which is always a bonus. Now, I am sure that at some point or another you have all bowled a ball at some bottles (whether intentional or not) and while this would make do on their own, it turns out kids don’t find that interesting unless you make it more fun.
This is where this project comes in! The best part about this is that you can also include them in the decorating so in fact, it is two projects and activities rolled into one! You can go as minimalistic or crazy as you like, we chose to create little characters out of ours and while we decorated we made stories which was an interesting way to explore imagination!
You will need:

- 6 similarly sized bottles
- Different color paint
- Colored card
- Stapler
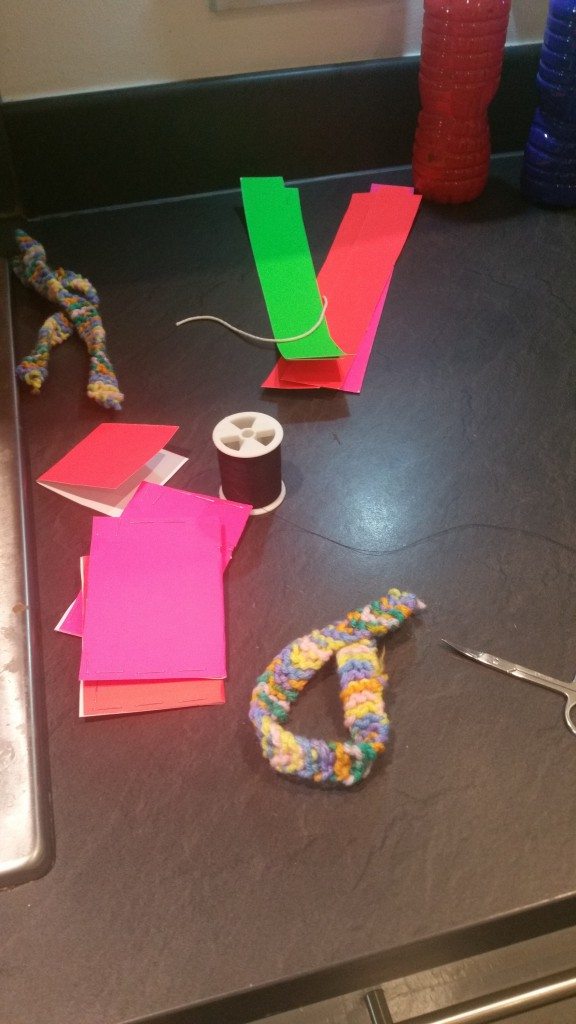
- Assorted scrap materials for decorating (I used wool, string and buttons)
To color the bowling pins:
The pictures are deceptive and these bottles are in fact painted from the inside! This is because it makes baby bowling safer if there isn’t pieces of paint chipping off the sides (plus it protects the floor, you’re welcome!)
- Add 1 teaspoon of water and 4 tablespoons of your paint into the top of your bottle.
- Seal the lid and shake vigorously!
- The consistency and water should allow you to turn the bottles and seal any holes with leftover paint. If it is too runny, add some more paint but if it is too stiff then you will need to add more water (only a little).
- Once the whole bottle is covered, leave it overnight to dry

Of course you can experiment with different colors or opt to make them all the same color, for the little ones, using bright and vibrant colors helps with sensory play and is more likely to keep them interested. It is also interesting to note that they are very light which is suitable for the little ones however if you are making these for toddlers (or grown ups) then you need to add some rice or sand to them to weigh them down and stops it being too easy (don’t use water because it washes the paint off!).
To Decorate:
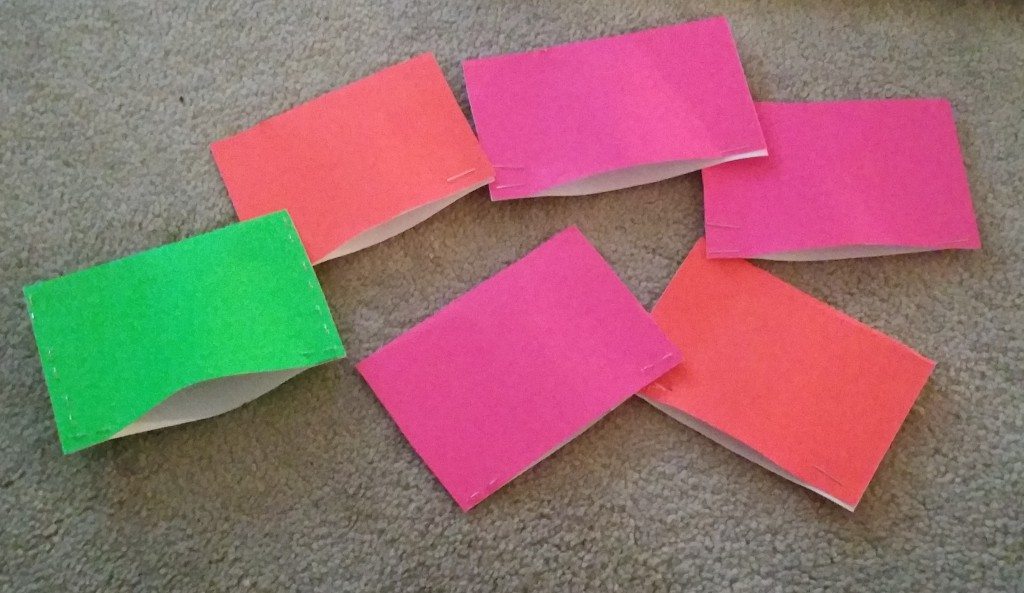
Here you can choose to do whatever you want! We made them into characters so we gave them faces and feet. We did this by cutting rectangles of card and folding them over the lid of the bottle and stapling either side of the lid so that it was closed around but still slid off. You can choose to glue them to the lids themselves but we wanted to make it an achievement where you get extra points for knocking the face off!
Then draw faces on them (number the back for special tombola scores (see variations below)) I also had some googly eyes leftover so used some of those as well! You can really choose to do whatever you want, the idea is that it is a frugal activity so you should make do with what you have! I had some leftover strands of wool so I knitted them some cute scarves (because why not! – they might get cold) and to give them a bit of extra stability (the older ones can throw harder than you think!) I added feet, similar to ducks feet to the bottom!

For the crawlers – If your baby can’t yet throw a ball then use them instead, line them up and let them ram into them! They will enjoy knocking them over and sometimes it’s funnier to play “lowest score wins” and see how many are left standing afterward!
For the bigger ones – To make it harder you can opt to fill them over halfway with sand or rice which makes them extra tricky to knock over.
Tombola Variation
Alternatively, you can turn this into a homemade carnival tombola bowling game by spreading the bowling pins further apart, making a cardboard hoop and throwing it over them. You could also draw specific score numbers on the back of the heads so that landing on certain characters earns you more points! The highest score wins.

You may also be interested in these Pinterest boards:
What’s your favorite frugal kids activity?
9 comments on “Homemade Baby Bowling Activity”
Comments are closed.
Those are brilliant! We used to love playing skittles when the Tubblet was small
Thanks for linking up #mg. This is a greta idea, I love the little scarf idea and making them harder to knock over with the rice, very cool.
This is a good idea & so fun! We have some soft skittles & the girls love them. #mg
Aw such a great idea! Thanks for linking up to the #BinkyLinky
A brilliant activity and looks so much fun great post thanks for linking to the Binkylinky
So simple. I think my daughter will love to help with this project. Thanks for sharing. #binkylinky
We did a similar thing in the summer using food colouring and water in the bottles. The water weighed them down just right. We didn’t have faces on ours though. The kids loved them and they stayed in the garden all summer.